
Create access links
- To create an access link, go to the ‘Invite Users’ button on the top right of your Subscription Manager.

- Click on 'Create new link'

- As an Administrator, you will then be given the option to name this link for your own reference. Here you may wish to create unique links for specific user groups in your organisation (i.e. chemistry students, first-year students, Faculty, etc.)

- Once you have named the link, you will have the option to assign ‘tags’ to users who register with this link. Once a user registers with this link, the tags will be visible in your Manage Users Table and can be used to organise your users more effectively. It’s worth noting that the same tag can be used across multiple links. For example, you could add ‘Subject’ tags as well as ‘Student’ tags against your links. From your User Management table, you can use the tags filter to organise your users in bulk.
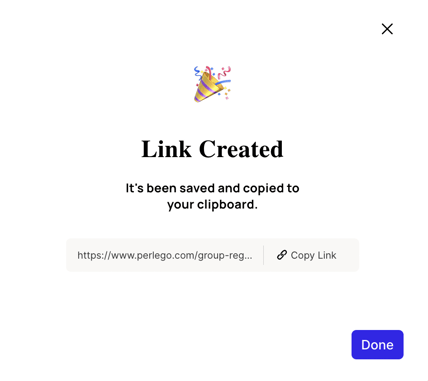
- You will also need to select a Subscription Plan, and assign a maximum number of users who can redeem subscriptions against this link. If you don’t want to limit the number of users who can register against this link, you can leave the limit as 0. This will mean any number of users (up to the amount of subscriptions you purchased) will be able to register. Registrations will not be able to exceed the total amount of subscriptions you have purchased. Once you have set all these details, click ‘Save and copy link’. Your registration link is then automatically generated and copied to your clipboard, ready for you to share with your users who need to register for Perlego. Find out more about how to invite users in this article.
Manage access links
Once you have created your link, it will be live in the ‘Existing links' page.

If you need to copy the link again, you can click the link icon next to your existing link, which will copy the link to your clipboard so that you can share it again.
-1.png?width=546&height=56&name=image%20(4)-1.png)
If you wish to edit the number of users who can register against a link, change the link name, or edit the tags in the future, you can go to existing links and click on the pencil icon.
-1.png?width=550&height=65&name=image%20(5)-1.png)
It’s worth noting that editing the link (changing name, tags, etc) will not alter the link URL, so there’s no need to re-share it with existing users.
Delete access links
Once you have created your link, it will be live in the ‘Existing links' page.

If you need to delete a previously created access link, you can click the bin icon next to your existing link.

Once you have clicked on the bin icon, you will be asked to confirm your decision to delete an existing link. If you are sure you want to proceed, click on the red button.

Your access link is now deleted and will no longer be visible within your existing links.